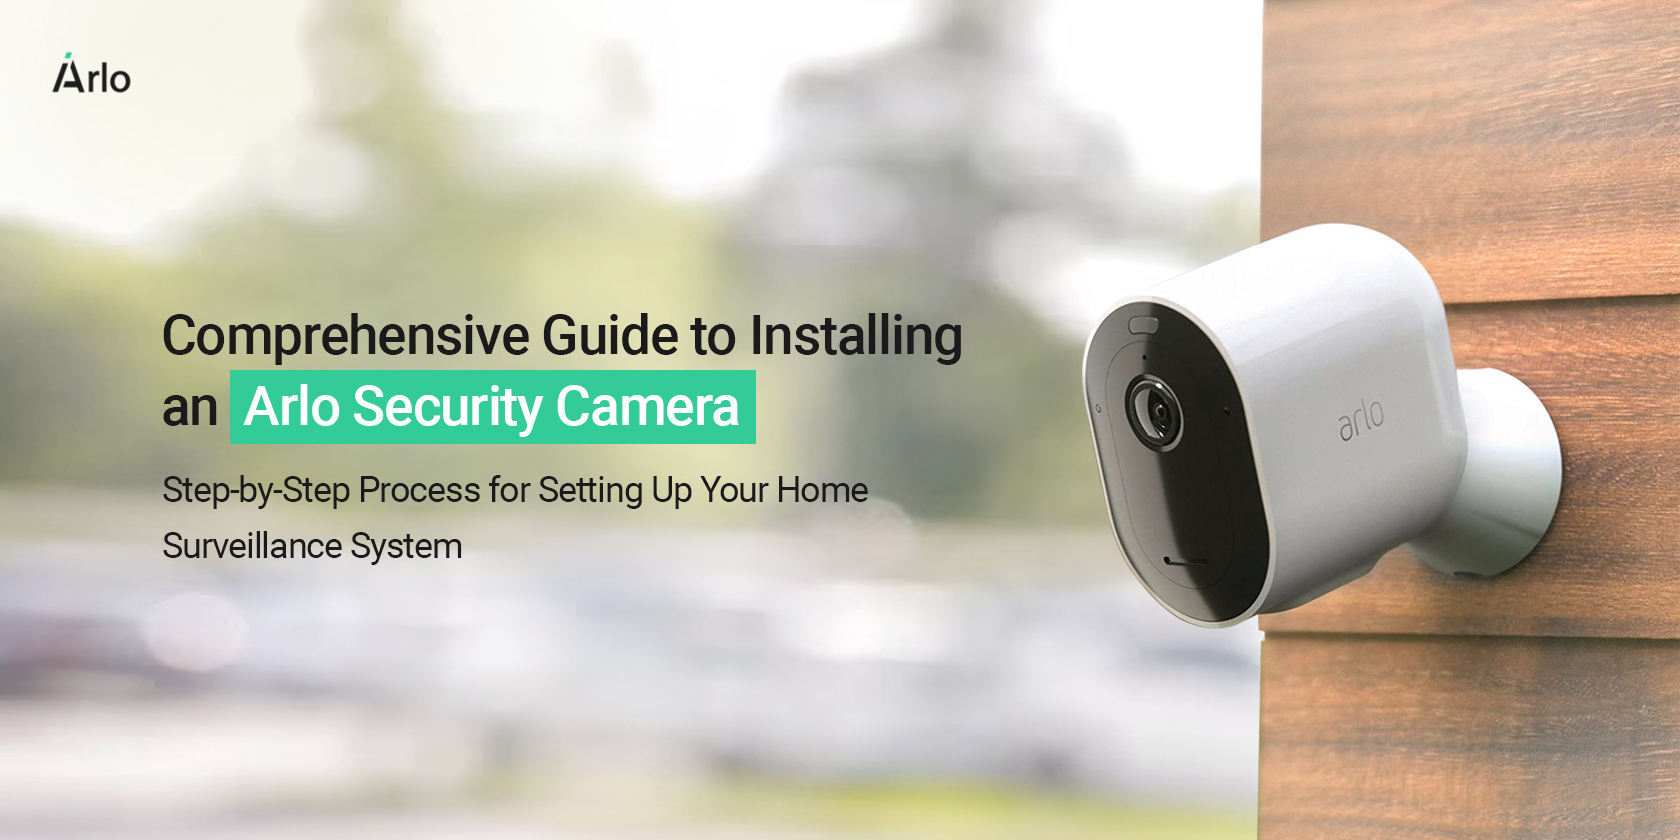
Generally, Arlo cameras are one of the primary security devices laced up with smart technology. Similarly, Arlo camera installation is necessary for these wireless, battery-powered cameras to start to use them and connect with the network.
Herein, you will find a step-by-step guide to help you set up your Arlo camera from scratch to finish. First, make sure everything is available in the box before you start. You get an Arlo camera, USB cable, mounting gadgets, AC power adaptor, rechargeable battery, and quick start guide. In the given section, you find the steps to install your Arlo camera.
How to install Arlo camera efficiently?
Moreover, you are now aware of the primary requirements for installing the Arlo security gadgets. Primarily, select the location for the surveillance device within the network range. Likewise, it is time to understand the steps for positioning the camera appropriately. So, have a look beneath:
- First, make sure everything is available in the box before you start.
- Generally, contents may differ slightly based on the model of the Arlo camera, like Pro, Ultra, or Essential.
- If you have a battery-powered Arlo camera, such as Arlo Pro or Arlo Ultra, you should first charge a battery.
- Also, open the battery compartment using the button or latch. If it is a removable battery, insert it properly into the camera.
- Connect the given charging cable to the camera and a power source. Wait until the camera LED shows that the battery is fully charged.
- If you are using the base station/smart hub, then connect it to the network.
- Again, go to the place where you want to position your camera.
- Mark the point using a pencil on the selected location and drill it.
- Now, place the anchors and screws using the screw drive and fit the mounting plate on them.
- Hereon, place the camera on the mounting plate.
- Once mounted, you need to move the angle of the camera to best suit your view.
- Download the Arlo app as the camera first needs to be added to the app for testing and to view the angles.
- Once it installs, open the app and either sign in or create an Arlo account.
- After that, configure the basic settings for the camera and check the live view to confirm the angle you’ve set.
- At last, you are done with the Arlo camera installation process.
What things should be avoided when installing the security camera?
Additionally, camera installation is an easy process that users can perform on their own. Similarly, they get stuck during the procedure due to various reasons, such as incorrect location, camera lightening is not powered on, the device being out of network range, etc. Therefore, it is necessary to keep a few of the things in mind, such as:
- Select the appropriate location to position your camera.
- Do not place the surveillance device behind the sheer curtains, trees, or behind the glass.
- Check the camera light is turned on before you position it.
- Use the original power adaptor and check that the power cables are connected appropriately.
- Place the surveillance within the router’s network range.
- Tighten the anchors and screws properly while fixing the mounting plate.
- Set the camera to the correct angle while mounting it on the plate.
- Add the camera to the Arlo secure app to test its functioning.
Final Words
All in all, the given information regarding the Arlo camera installation helps you to understand the process completely. Here, you find the easy steps to position your camera on your own. Besides this, if you need to know more about the Arlo security cameras, then stay in touch with us!